Hi Everyone & Happy Friday!
in this post I will share in detail from start to finish my Penguin illustration process.
First of I trace my penguin and all it's tiny details in pencil, once I am done I grab my Rotring Rapidograph pens and retrace the whole illustration with care, patience and attention to all my fine line details steady pulse is a must here! I use tips 0.1, 0.2 and 0.4 mostly.
Once I have retraced all the outlines with my pen I scan it and save a copy for adding color later in Adobe Illustrator.
I then move on to doing my black and white version by starting to fill in the shapes and spaces with black ink.
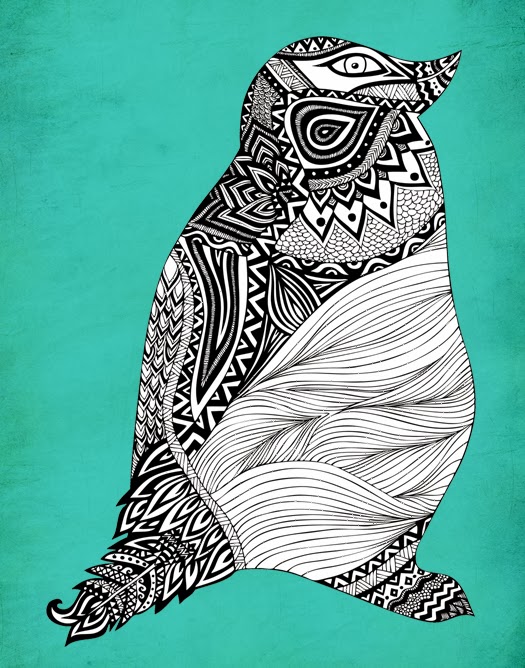
Once it feels like it's done, again I scan it and save this version, which will be my final black and white version.
Moving on to color. I upload my 1st outlined scanned version to Adobe Photoshop first to clean it up.
I end up re-tracing and re-drawing the whole illustration practically all over again. I am a big perfectionist and I want my lines to be as clean and accurate as possible, I currently do not have a great scanner yet so this is why I have to re-trace some parts again on Photoshop, double the work, double the fun! And yes, patience lots of patience, but when doing something you love the extra work does not really matter.
By the way I work with a Wacom Intuos 4 Tablet and am saving up to get the Wacom Cintiq which would allow me to draw directly to the screen and convert my illustration traces straight to vector lines and save me all this cleaning up process.
Ok by now I have my cleaned up version ready for Adobe Illustrator for the fun color adding part!
I open my .jpg or .png version on Adobe Illustrator and use the "Live Trace" tool adjusting the settings to the one that will go best to my design, to convert all my lines to vectors. works like magic!
I then select my color palettes to proceed with color adding. There are a few ways of adding colors, my favorite one is the "Live Paint Bucket". I select my color per area and then live paint one by one by sections.
I keep going, one by one until I fill in each space accordingly to my chosen color palette.
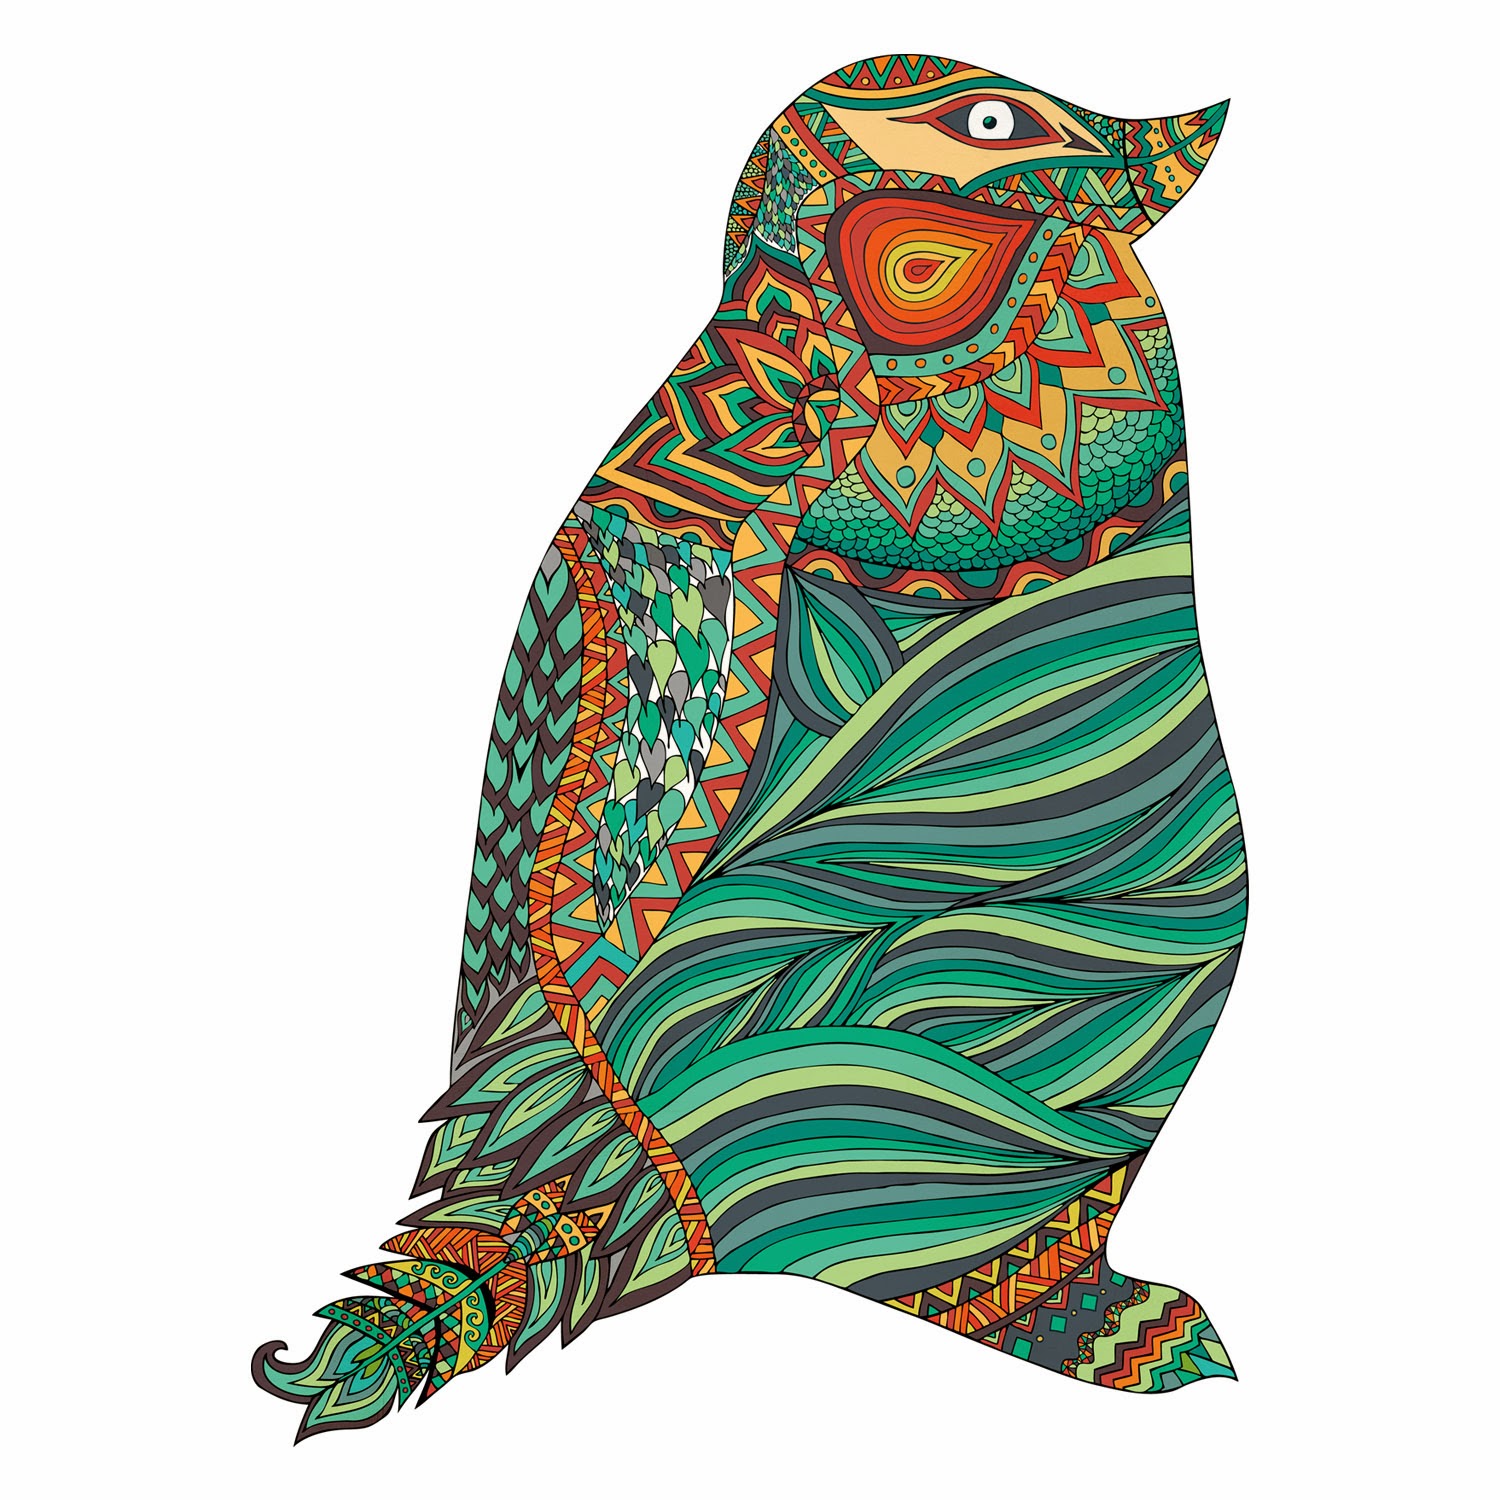
And Voila! this Little guy is done :)
The above version is called "Ethnic Penguin" my black and white version ended up looking like the one below and I named it "Tribal Penguin"
Here are some products you can find in my Society6 Shop
Thanks for stopping by and taking yourself the time to read my post! If you have any questions or thoughts please shoot me an e-mail at pamelagallegos@pomgraphicdesign.com
Please Visit my Society6 Shop Here:
And my poster prints and more in my Etsy Shop:
Find me on FACEBOOK | TWITTER | WEBSITE | SOCIETY6 | PINTEREST | ETSY
Copyright © 2013 Pom Graphic Design
Copyright © 2013 Pom Graphic Design


It's a wonderful illustration. I like your creative work. Thanks
ReplyDeleteclipping path service
Photo Retouching services
Raster To vector conversion
Wow i can say that this is another great article as expected of this blog.Bookmarked this site.. illustrationstyles
ReplyDeleteThanks for posting this info. I just want to let you know that I just check out your site. Squall Leonhart Jacket
ReplyDeleteThe great website and information shared are also very appreciable.
ReplyDeleteedward cullen peacoat
Hi , Thank you so much for writing such an informational blog. If you are Searching for latest Jackets, Coats and Vests, for more info click on given link-Pastel Leather Jacket
ReplyDeleteI really appreciate the kind of topics you post here. Thanks for sharing us a great information that is actually helpful. last night in soho white coat
ReplyDeleteThanks for this. This is the simplest explanation I can understand given the tons of Explanation here. Gotham Knights Robin Jacket
ReplyDelete