By: Sarah Gouda
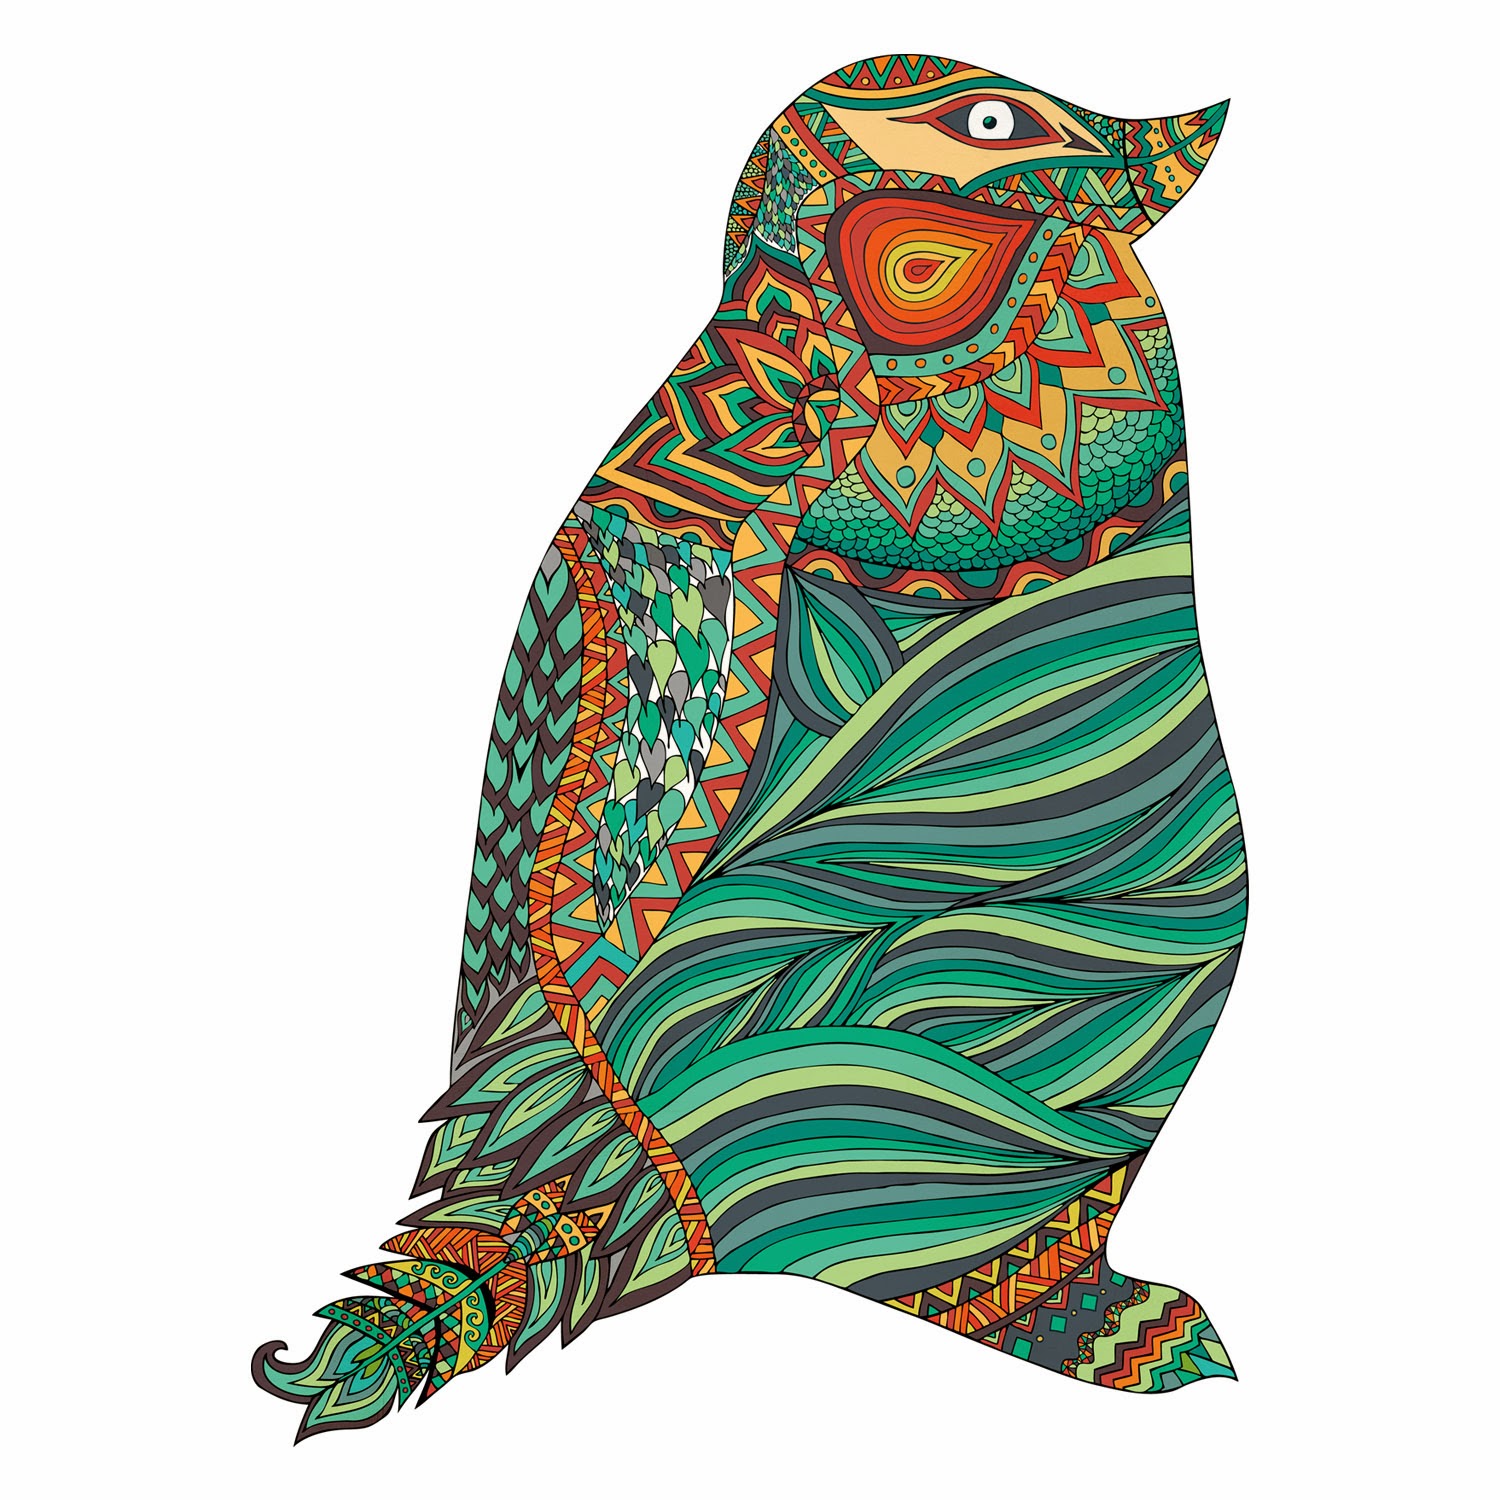
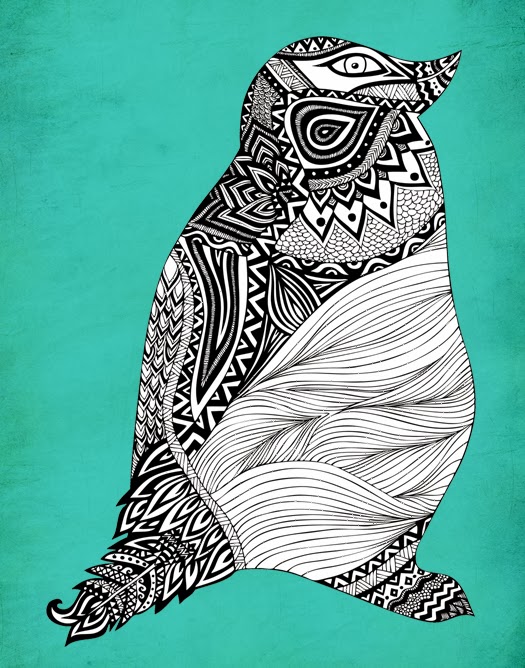
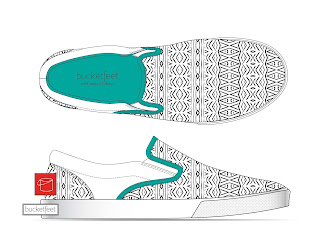
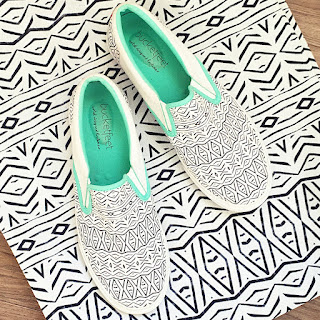
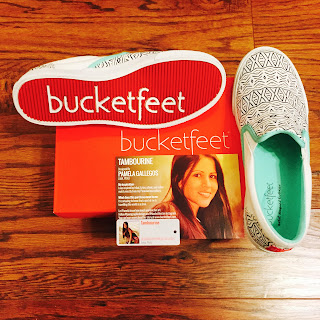
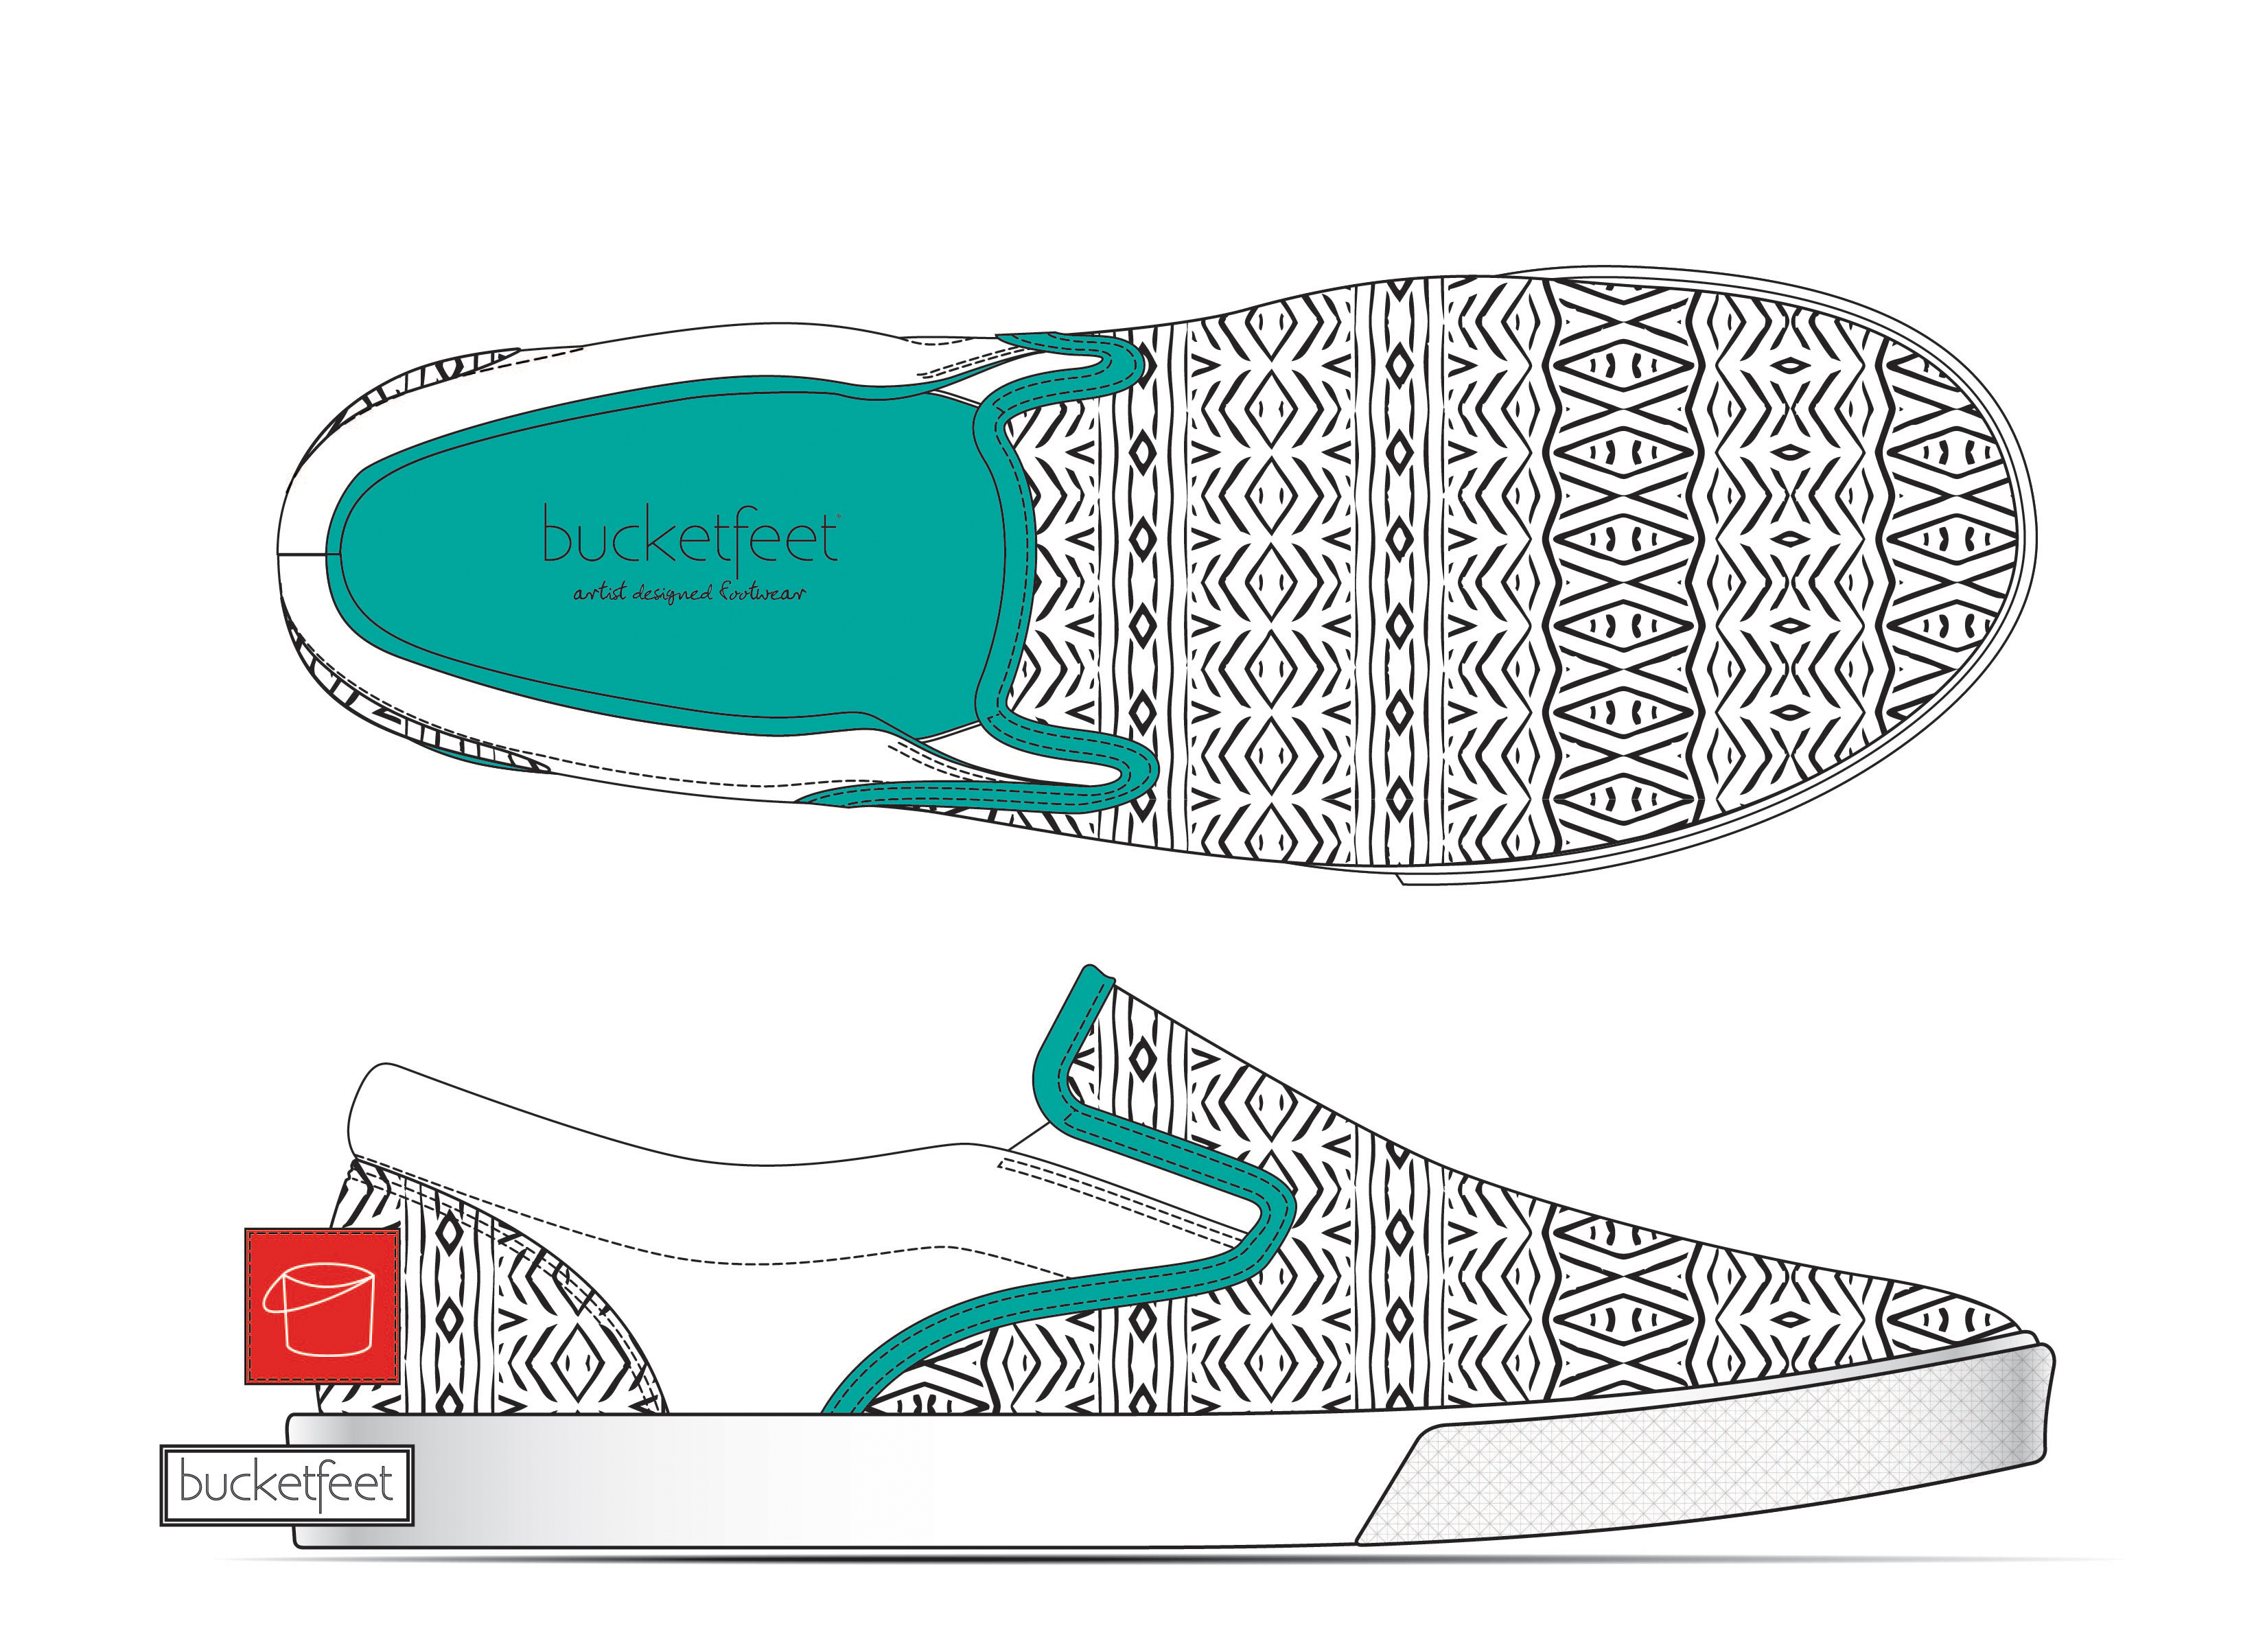
Pamela Gallegos, creator of the Tambourine and founder of Pom Graphic Design, holds travel close to her heart. Though born and raised in Miami, her Peruvian roots have deeply impacted her art—and her many trips back to her parents' homeland have imbued her with an appreciation of the country's rich, mystical culture. It's easy to see the influence of travel and nature in her work's bright colors and tribal patterns, and the one-of-a-kind BucketFeet she recently designed are no exception.
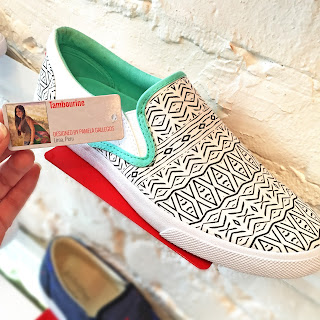
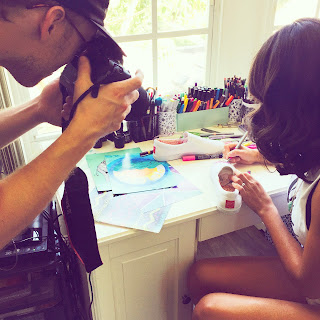
Aside from being an immeasurably talented artist, Pamela is also refreshingly honest about her process. She readily opened up to us about the bout of creator's block she recently experienced and just what was needed to help her get through it: "Slumps are inevitable in just about all areas of our lives, and so it is with my art work as well. Usually, it takes a new project to reenergize my creativity. Recently I created my first custom “bucketfeet” shoe design. It was just before this project that I felt like I was in a bit of a creative slump. But then, the shoes came out fantastic and I had so much fun designing them! I have come to realize that the best way for me come out of a creative slump is by just “going for it”— taking on a new project with the same love and passion that I have for what I do as an artist. I just let go and enjoy the journey."
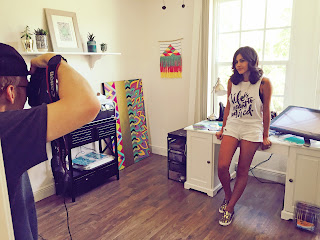
Scroll through the photos below to get an inside look at what went into this vibrant pair of BucketFeet.
Thank you very much for taking a minute of your time to read my post. If you have any questions or would like to reach me personally please do so at:
Pamela Gallegos, creator of the Tambourine and founder of Pom Graphic Design, holds travel close to her heart. Though born and raised in Miami, her Peruvian roots have deeply impacted her art—and her many trips back to her parents' homeland have imbued her with an appreciation of the country's rich, mystical culture. It's easy to see the influence of travel and nature in her work's bright colors and tribal patterns, and the one-of-a-kind BucketFeet she recently designed are no exception.
Aside from being an immeasurably talented artist, Pamela is also refreshingly honest about her process. She readily opened up to us about the bout of creator's block she recently experienced and just what was needed to help her get through it: "Slumps are inevitable in just about all areas of our lives, and so it is with my art work as well. Usually, it takes a new project to reenergize my creativity. Recently I created my first custom “bucketfeet” shoe design. It was just before this project that I felt like I was in a bit of a creative slump. But then, the shoes came out fantastic and I had so much fun designing them! I have come to realize that the best way for me come out of a creative slump is by just “going for it”— taking on a new project with the same love and passion that I have for what I do as an artist. I just let go and enjoy the journey."
Scroll through the photos below to get an inside look at what went into this vibrant pair of BucketFeet.


Thank you very much for taking a minute of your time to read my post. If you have any questions or would like to reach me personally please do so at:
pamelagallegos@pomgraphicdesign.com.